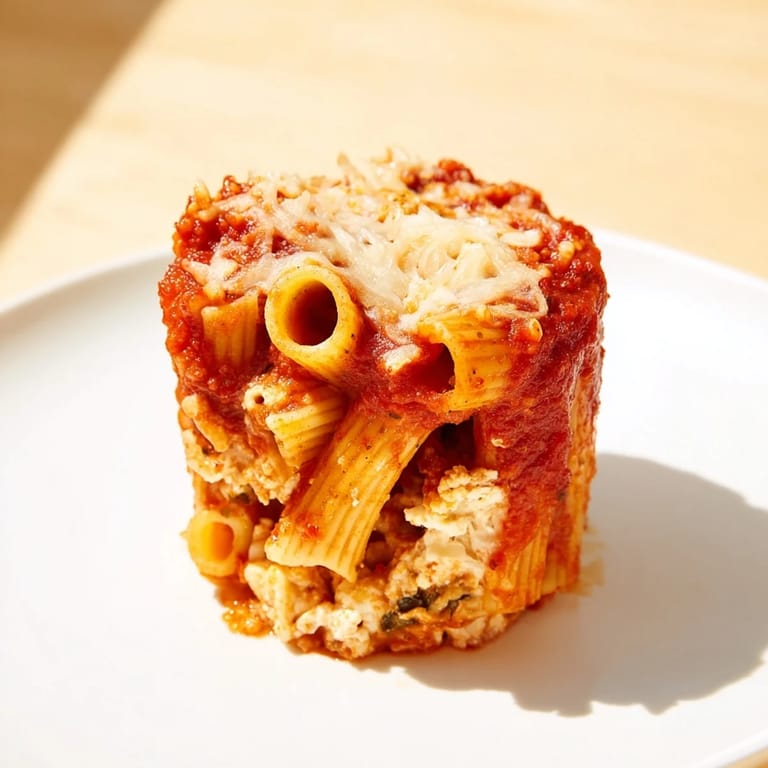
 Pin It
 I discovered baked ziti cups by accident one Tuesday when my daughter asked if she could eat dinner with her hands at the kitchen table instead of sitting at the dining room. I had leftover ziti and ricotta, a muffin tin catching dust in the cabinet, and exactly zero patience for complicated cooking. An hour later, we were pulling these crispy-edged, cheese-loaded little stacks out of the oven, and she was happier than I'd seen her in weeks. These cups have been a fixture in my kitchen ever since.
The first time I brought these to a potluck, someone asked if I'd catered them. I remember standing in my kitchen that morning, nervous I'd mess up the layering, but my hands just kind of knew what to do—pasta, ricotta spoonful, pasta again, sauce, mozzarella. By the time I pulled them from the oven, the kitchen smelled like a pizzeria and my confidence had tripled. They disappeared in minutes, and I've been making them for gatherings ever since.
Ingredients
- Ziti or rigatoni pasta (225 g / 8 oz): Short, sturdy tubes hold the sauce and cheese like tiny edible vessels; don't use delicate shapes that'll break apart when you pack them into the cups.
- Olive oil (1 tablespoon): Just enough to bloom the garlic without turning the sauce slick.
- Garlic (2 cloves, minced): The moment it hits hot oil, your kitchen transforms into something that smells like an Italian grandmother lives there.
- Canned crushed tomatoes (400 g / 14 oz): Buy the good stuff if you can; it's the base of everything else and deserves respect.
- Dried Italian herbs (1 teaspoon): A shortcut that works, though fresh basil stirred in at the end makes it sing.
- Salt and black pepper (1/2 teaspoon and 1/4 teaspoon): Season the sauce, not just the final dish, so flavor lives in every layer.
- Ricotta cheese (250 g / 1 cup): The creamy middle that keeps everything from being one-note tomato; make sure it's well-drained or your cups will weep.
- Parmesan cheese, grated (60 g / 1/2 cup): The sharp edge that balances the richness of ricotta and mozzarella.
- Large egg (1): Acts as a gentle binder so the ricotta layer stays put instead of sliding down.
- Fresh basil, chopped (2 tablespoons, optional): Worth the small effort; the aroma alone makes this feel intentional.
- Shredded mozzarella cheese (150 g / 1 1/2 cups): Half goes into the pasta mixture, half crowns each cup; buy whole milk mozzarella if you want stretch and flavor.
- Nonstick cooking spray: Essential for releasing these cups cleanly without them shattering into cheese-covered regrets.
Tired of Takeout? 🥡
Get 10 meals you can make faster than delivery arrives. Seriously.
One email. No spam. Unsubscribe anytime.
Instructions
- Set the stage:
- Preheat your oven to 190°C (375°F) and spray that muffin tin generously—the spray should pool slightly in each cup so nothing sticks. This step takes 60 seconds but saves you from heartbreak later.
- Cook the pasta:
- Boil salted water in a large pot, then cook your ziti until it's just barely al dente—you want it to have a tiny bit of bite because it'll soften more in the oven. Drain it and let it cool just long enough to touch comfortably.
- Build the sauce:
- While the pasta cooks, warm olive oil in a saucepan over medium heat until you can smell the warmth coming off it. Add minced garlic and listen for that quiet sizzle—about 1 minute of cooking releases everything good in it. Pour in your crushed tomatoes, herbs, salt, and pepper, then let it bubble gently for 5 minutes, just enough time for the flavors to find each other.
- Make the ricotta layer:
- In a medium bowl, combine ricotta, Parmesan, the egg, fresh basil if you're using it, and salt, then mix until it's smooth and no lumps of ricotta remain. This mixture should taste almost like dessert-savory because it's going to be surrounded by tomato.
- Combine pasta and sauce:
- In a large bowl, toss your drained pasta with half the tomato sauce and half the mozzarella cheese until every piece is coated. This is where the dish starts to feel real.
- Fill the cups:
- Spoon half of the pasta mixture into each muffin cup, packing gently but not crushing—you want it snug enough to hold its shape. Top each with a spoonful of the ricotta mixture, then add the remaining pasta, more sauce, and finally a sprinkle of that last bit of mozzarella. The layers should be visible and slightly uneven, not a flat filling.
- Bake until golden:
- Slide the tin into the oven for 20 to 25 minutes, until the cheese on top is melted and bubbly and starting to turn golden at the very edges. The smell will get stronger as it bakes—that's your signal to stand nearby.
- Release and serve:
- Let the cups cool in the tin for 5 minutes so they firm up slightly, then run a thin knife around the edge of each cup and lift them out gently with a fork underneath for support. Serve warm, maybe with a basil leaf on top if you want to feel fancy.
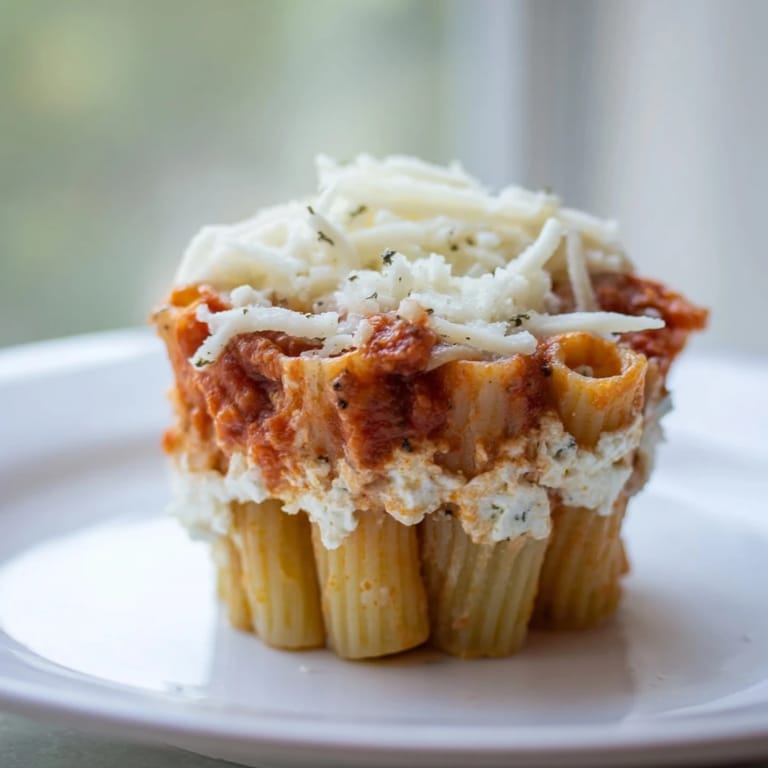 Pin It
 My neighbor once told me these cups reminded her of lasagna without the ambition, and I think that's exactly the compliment I wanted. There's something about the individual portion that turns a simple pasta dish into an event, especially when someone picks one up, steam rising from the cheese, and realizes they can eat it with two hands like it's the most natural thing in the world.
Making Them Ahead
Assemble the cups completely, cover the tin with plastic wrap, and refrigerate for up to 24 hours before baking—this actually lets the flavors meld and makes the structure sturdier. When you're ready to bake, add 5 minutes to the cooking time since they're going in cold. I've also frozen fully baked cups in an airtight container for up to a month, then reheated them in a 160°C oven for about 12 minutes or microwaved them individually in 90-second bursts.
Variations That Work
The beauty of this format is how forgiving it is to your whims or what's already open in your fridge. Brown some Italian sausage and stir it into the sauce for meatiness, or scatter sautéed spinach and mushrooms between the layers for earthiness. Swap penne or small shells if you don't have ziti—the shape matters less than you think. I've even stirred a bit of cream into the ricotta when I wanted a richer texture, and nobody complained.
Serving and Pairing
These cups are excellent warm, at room temperature, or even cold straight from the fridge the next day, which is frankly their superpower. Serve them with a crisp Italian salad dressed in vinaigrette to cut through the richness, or alongside garlic bread if you're feeding people who want a more generous meal.
- Garnish with a small basil leaf or grating of Parmesan to make them look intentional.
- Reheat leftovers in a 160°C oven rather than the microwave to keep the bottoms crispy.
- These freeze beautifully, so make a double batch and bank the extra for a future night when cooking feels like too much.
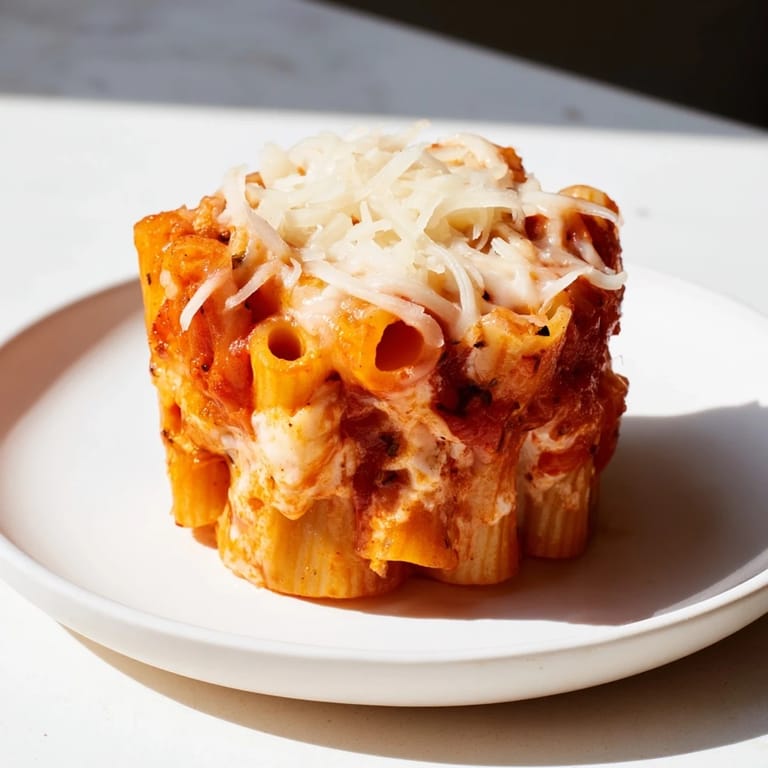 Pin It
 These cups are proof that the best kitchen inventions happen when you stop trying to make something impressive and start making something that solves a real problem. Every time I pull a batch from the oven, I'm reminded that sometimes the most satisfying meals are the ones that fit neatly into your hand and taste like both comfort and celebration.
Recipe FAQs
- → Can I use a different pasta type?
Yes, penne or rigatoni work well as substitutes if ziti is unavailable.
- → How do I store leftover baked ziti cups?
Store them in an airtight container in the refrigerator for up to 3 days or freeze for longer storage.
- → Can I make these dairy-free?
To make it dairy-free, substitute cheeses with plant-based alternatives, though texture may vary.
- → What is the best way to reheat these pasta cups?
Reheat gently in a microwave or oven until warmed through, ensuring cheese stays melted.
- → Is it possible to add meat to the sauce?
Yes, cooked Italian sausage or ground beef can be stirred into the tomato sauce for added flavor.