Pin It
 There's something about the smell of fresh scones baking that makes you forget about the world outside the kitchen. My neighbor knocked on my door one spring afternoon with flour still dusting her apron, insisting I try the batch she'd just pulled from the oven. That first warm scone, torn open to reveal the tender crumb inside, changed how I thought about baking—suddenly it wasn't intimidating, it was an invitation to slow down.
I made these for my sister's book club last April, and watching five people close their eyes on that first bite felt like a small victory. Someone asked for the recipe before dessert was even cleared, which tells you everything you need to know about how these land with people.
Ingredients
- All-purpose flour (2 cups): The foundation of a tender crumb—measure by spooning and leveling rather than scooping directly from the bag, which packs flour and makes scones dense.
- Granulated sugar (1/4 cup): Just enough sweetness to complement the jam without making these taste like dessert before tea.
- Baking powder (1 tablespoon): The magic ingredient that gives scones their signature lift and fluffy interior.
- Fine sea salt (1/2 teaspoon): A whisper of salt that brightens all the other flavors and prevents them from tasting flat.
- Cold unsalted butter (1/2 cup, cubed): Cold butter is non-negotiable—warm butter creates a greasy dough that won't rise properly, so chill it beforehand if your kitchen is warm.
- Whole milk (2/3 cup plus extra for brushing): The liquid that brings everything together and adds richness without being heavy.
- Large egg (1): Binds the dough and contributes to that golden, glossy top when brushed on before baking.
- Pure vanilla extract (1 teaspoon): A subtle depth that makes people ask what the secret ingredient is.
- Clotted cream (1 cup) and quality jam (1 cup): These are the stars of the show, so choose them with the same care you'd choose everything else.
Tired of Takeout? 🥡
Get 10 meals you can make faster than delivery arrives. Seriously.
One email. No spam. Unsubscribe anytime.
Instructions
- Heat your oven and prep your stage:
- Set the oven to 425°F and line your baking sheet with parchment paper so your scones bake evenly without sticking. Everything should be ready before you start mixing.
- Combine your dry ingredients:
- Whisk together the flour, sugar, baking powder, and salt in a large bowl, making sure the baking powder is evenly distributed so you get consistent rise across all eight scones.
- Work in the cold butter:
- Add the cubed cold butter and either use a pastry cutter or your fingertips to rub it into the flour until it resembles coarse breadcrumbs. This step is where the magic happens—those tiny pockets of butter are what create the tender, flaky texture you're after.
- Mix your wet ingredients separately:
- In a small bowl, whisk the milk, egg, and vanilla together until combined and slightly frothy.
- Bring dough together gently:
- Pour the wet mixture into the dry ingredients and mix with a fork just until everything is barely combined. This is where restraint matters—overworking the dough develops gluten and turns your scones tough and dense instead of tender.
- Shape your scones:
- Turn the dough out onto a lightly floured surface and pat it down to about 1 inch thick. Using a 2.5-inch round cutter, stamp out eight rounds, and arrange them on your prepared baking sheet.
- Add the finishing touch:
- Brush the tops of each scone lightly with milk, which gives them that beautiful golden gloss and slight sheen when they emerge from the oven.
- Bake until golden:
- Bake for 12 to 15 minutes, watching until they're risen and the tops turn a warm honey-gold. The exact time depends on your oven's personality, so start checking around the 12-minute mark.
- Cool and serve:
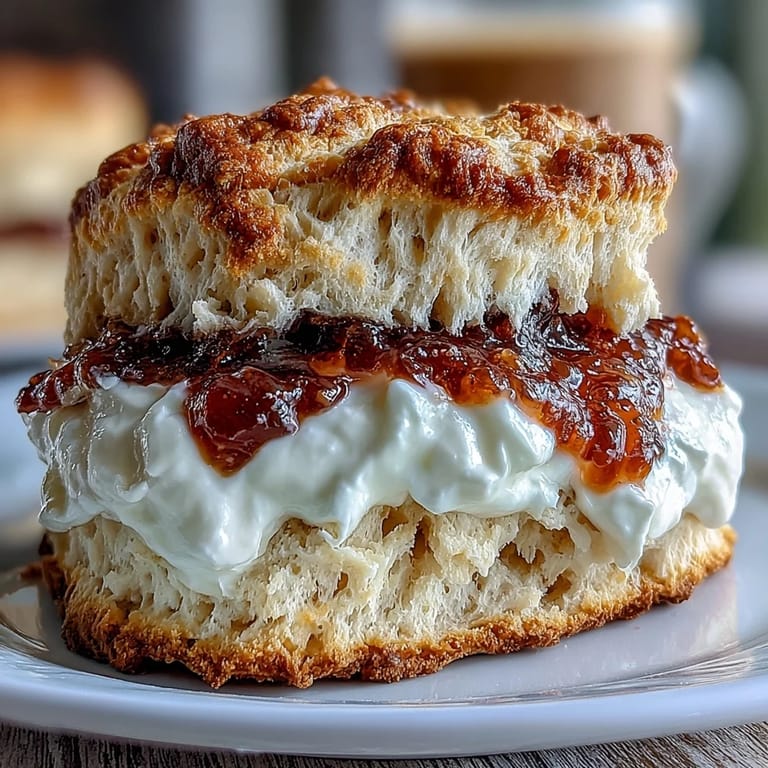
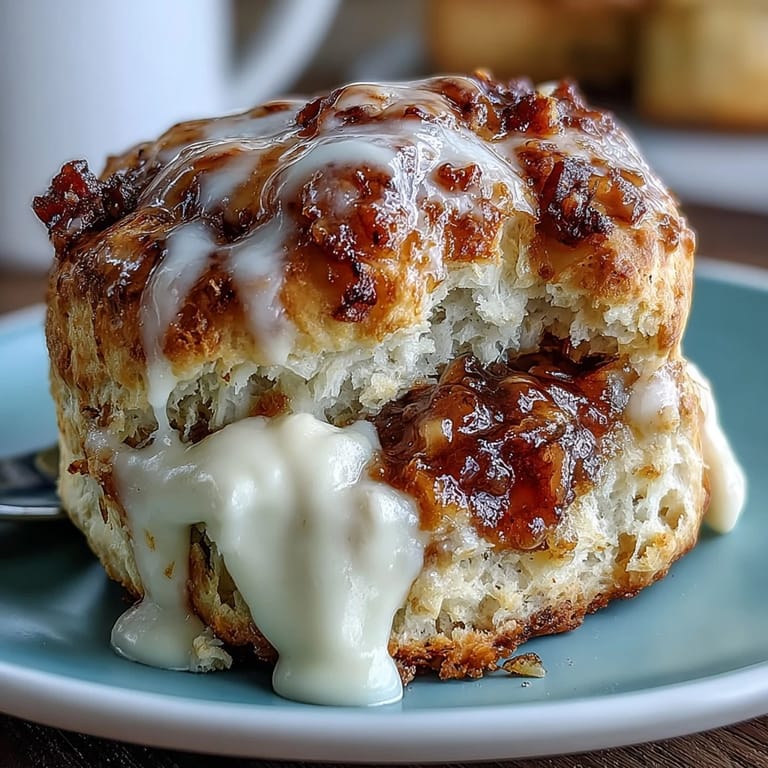
- Transfer them to a wire rack and let them cool for just a few minutes—they should still be warm when you split them open and pile on the clotted cream and jam.
 Pin It
 I once made these for a quiet morning with my mother, before life got busy and visits became scheduled months in advance. We split the first scone and sat in silence for a moment, and that small ritual became something we both held onto.
The Art of Not Overworking
Overworking scone dough is the most common mistake, and it's usually made with good intentions—people want to make sure everything is fully combined. But the goal here is the opposite of what you'd do with bread dough. Think of it as barely bringing ingredients together rather than thoroughly mixing them, which allows the butter and dry ingredients to create those tender pockets of air as they bake.
Timing and Temperature Matter
A high oven temperature—425°F—is your friend because it allows the scones to rise quickly before the outside sets too much, creating that contrast between the exterior crust and the feathery interior. If your oven runs cool or hot, you might need to adjust by 25 degrees, so knowing your oven's quirks is worth the small effort.
Serving and Storage
The best moment to serve these is within an hour of baking, while they still carry that warmth and the butter is soft enough to melt into the crumb. Split them lengthwise rather than all the way through—it's easier and more elegant, and it gives you a sturdy base for the cream and jam.
- Scones can be frozen for up to two weeks and reheated gently in a 350°F oven for about 8 minutes, bringing them back to nearly fresh-baked condition.
- If you're making them ahead for a specific time, you can prepare the dough up to the cutting stage, refrigerate it, and bake when guests are about to arrive.
- Store leftover scones in an airtight container at room temperature for a day, though they're honestly best consumed the same day they're made.
 Pin It
 These scones have a way of turning an ordinary afternoon into something that feels intentional and special. Bake them when you want to remind yourself—or someone you care about—that good food doesn't require complexity, just a little attention and warmth.
Recipe FAQs
- → What type of flour is best for these scones?
All-purpose flour is recommended to achieve a tender yet structured crumb, perfect for scones’ characteristic texture.
- → Can I substitute the butter in the dough?
Unsalted, cold butter cubed and rubbed into the flour creates the flaky texture. Alternatives like margarine may alter flavor and texture.
- → How important is the temperature of the butter?
Keeping butter cold ensures a flaky, light texture by creating small pockets of fat within the dough that melt during baking.
- → What are some serving suggestions?
Serve warm scones split in half, generously spread with smooth clotted cream and sweet fruit jam such as strawberry or raspberry.
- → Can the scones be frozen for later use?
Yes, scones freeze well when wrapped tightly. Reheat gently to restore warmth and softness before serving.