 Pin It
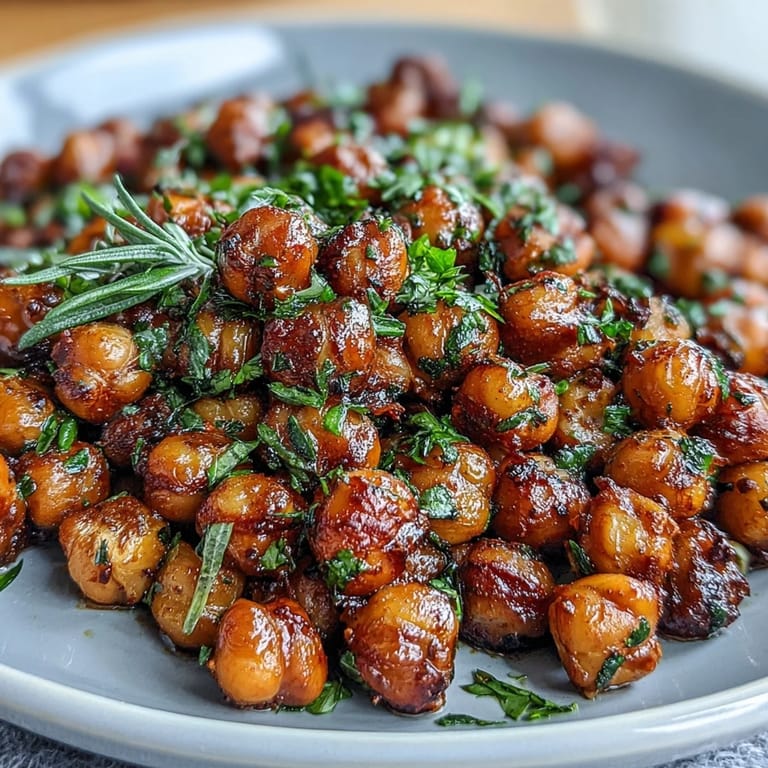
 There's something oddly satisfying about discovering that the thing you've been casually roasting in the oven tastes better than any store-bought snack you've spent money on. One afternoon, while meal-prepping vegetables, I'd left a can of chickpeas on the counter and decided to experiment instead of tossing them into a salad as planned. The result was revelatory—golden, crackling little orbs that somehow disappeared faster than I could portion them into containers. Once you taste the difference between homemade and bagged, there's no going back.
I made these for a friend's potluck last spring, and I watched someone who'd never tried them before grab a handful, pause mid-chew, and ask if they were homemade. The honest surprise in their voice made me realize how polarizing crispy chickpeas actually are—people either politely sample them or become devoted converts. That batch never made it past the first thirty minutes, and I've been making them regularly ever since for anyone who needs a real snack.
Ingredients
- Chickpeas: Two cans rinsed and patted completely dry—this step genuinely determines whether they'll be crispy or chewy, so don't rush it or your whole effort falls flat.
- Olive oil: Just enough to coat them evenly without creating pools of oil that will make them greasy instead of crunchy.
- Sea salt: Fine salt adheres better than coarse during the initial seasoning, but coarse salt works beautifully if sprinkled after baking.
- Smoked paprika, ground cumin, garlic powder: This combination is warm and earthy without overpowering the natural nutty flavor of the chickpea itself.
- Chili powder, lime zest, cayenne pepper: A bright, spicy option that cuts through richness and tastes completely different from the smoky version despite being equally easy.
Tired of Takeout? 🥡
Get 10 meals you can make faster than delivery arrives. Seriously.
One email. No spam. Unsubscribe anytime.
Instructions
- Heat your oven and prepare:
- Preheat to 400°F and line your baking sheet with parchment paper so cleanup is effortless and chickpeas won't stick. This temperature is the sweet spot between cooking through and achieving that crucial golden crust.
- Dry the chickpeas thoroughly:
- Spread your rinsed chickpeas on a clean kitchen towel and pat them for a full minute, letting the towel absorb all surface moisture—this is the non-negotiable step that makes the difference. They should feel almost powdery to the touch when you're finished.
- Toss with oil and initial seasoning:
- Place dried chickpeas on the baking sheet, drizzle with olive oil, and toss until every single one is lightly coated. The oil should glisten but not pool, and every chickpea should touch the hot pan.
- First bake:
- Slide into the oven for 25 to 30 minutes, shaking the pan halfway through so they brown evenly rather than catching darker on one side. You'll start hearing them rattle around the pan as they dry out—that's exactly what you want to hear.
- Add your chosen flavor:
- Pull them out while they're still warm and immediately toss with your selected seasoning mix, working quickly so the heat helps the flavors stick. The warmth matters more than you'd think because the seasonings actually adhere better when there's residual heat.
- Optional final crisping:
- Return them to the oven for five more minutes if you want extra crunch and don't mind slightly more intensified flavors. This step is entirely optional but worth doing if you love them shattered rather than just crunchy.
- Cool and store:
- Let them rest on the baking sheet until completely cooled and hardened before transferring to an airtight container. Storing them warm creates steam that will soften them, so patience here actually pays off.
 Pin It
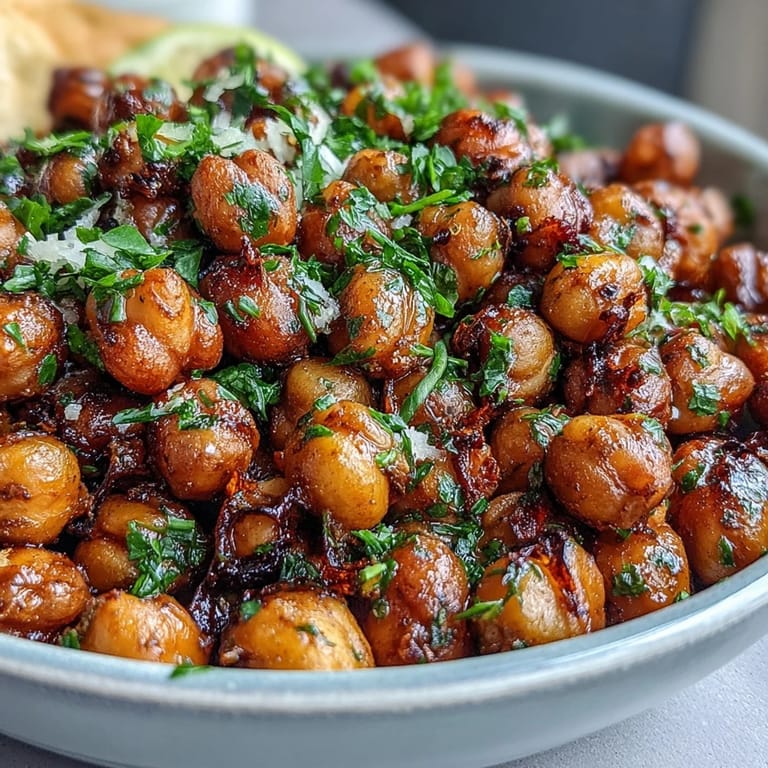
 These became the thing I'd bring to situations where I wasn't sure what to contribute—office gatherings, hiking trips, late-night study sessions—because they transcended typical snack categories. They're crunchy where chips turn soggy, wholesome without tasting virtuous, and genuinely better than anything premade.
Three Flavor Variations to Explore
The beauty of this recipe is that the base method stays identical—you're just changing the final seasoning blend. Classic sea salt is pure and lets the chickpea flavor shine, which is perfect if you want something straightforward or plan to use them as salad toppers. Smoky paprika brings warmth and depth, almost mimicking roasted flavors without any complicated technique, and it pairs beautifully with grains or as a standalone snack. Spicy chili lime is the boldest option, bright and hot with citrus notes that make people ask what the secret ingredient is.
Storage and Keeping Them Crispy
They genuinely taste best eaten the same day they're made, while they still have that satisfying snap when you bite through. After 24 hours, they'll start softening as they absorb ambient moisture, but they're not ruined—just revive them in a 350°F oven for about five minutes to restore the crunch. I've found that storing them in individual jars rather than one large container helps them last longer because you're not repeatedly opening and closing one container.
Why These Work Better Than Store-Bought
Commercial roasted chickpeas often taste either bland or aggressively salty, with a texture that can feel slightly stale before you even open the bag. Homemade versions are fresher by definition, more flavorful because you control the seasoning, and cost about a quarter of the packaged versions. Once you realize you can make a week's worth of snacking in one 45-minute window, the convenience factor becomes undeniable too.
- You control exactly how salty or mild they are, which matters if you're watching sodium or just prefer subtle seasoning.
- Three flavor options in one recipe means you can make one batch and divide it between seasonings for variety without tripling your effort.
- They're naturally vegan and gluten-free without any special ingredients or substitutions, so they work for almost every dietary approach.
 Pin It
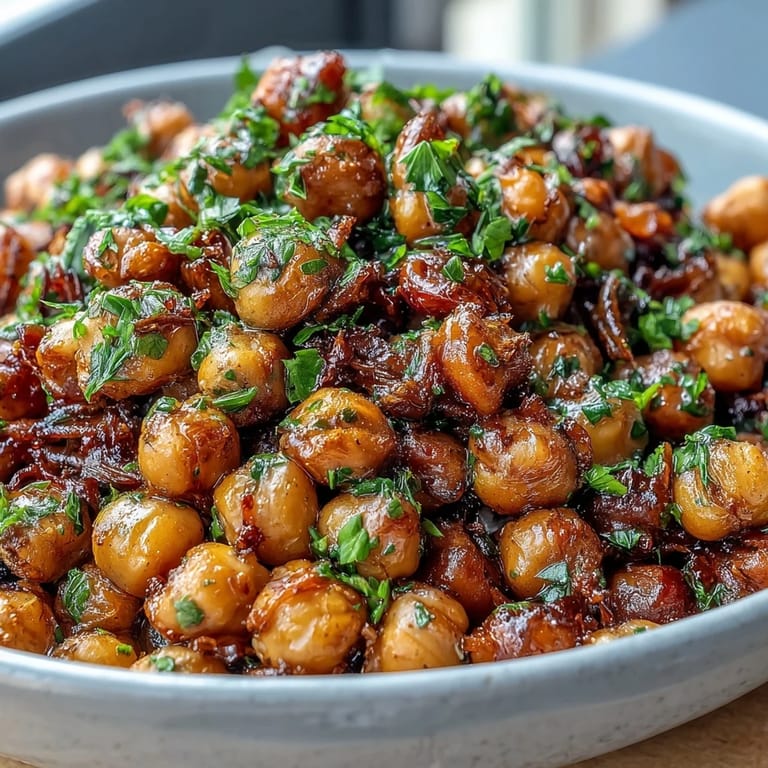
 What started as an accident in my kitchen became the snack I recommend to absolutely everyone. They're proof that simple ingredients and patience yield results that feel far more impressive than they deserve to be.
Recipe FAQs
- → How do I make chickpeas crispy when baking?
Ensure chickpeas are very dry before baking and toss them with olive oil. Bake at a high temperature and shake the pan halfway through for even crispness.
- → What flavor options can I use for baked chickpeas?
Try classic sea salt, smoky paprika blend, or a spicy chili lime mix featuring chili powder, lime zest, and cayenne pepper.
- → Can I re-crisp chickpeas after they soften?
Yes, placing softened chickpeas back in the oven for a few minutes helps restore their crunch.
- → Are baked chickpeas suitable for dietary restrictions?
Baked chickpeas are vegan and gluten-free; however, check spice mixes for potential allergens.
- → How should I store baked chickpeas to keep them fresh?
Allow chickpeas to cool completely and store in an airtight container to retain crispiness.