 Pin It
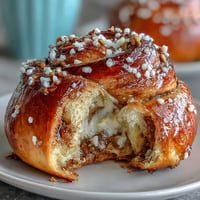
 The kitchen counter was covered in chocolate fingerprints when my niece first begged me to make these. I was skeptical about the effort, but watching her face light up when that first bomb melted into swirling chocolate magic changed everything. Now every winter gathering demands a batch.
Last year I made thirty of these for my daughters class. The best part was hiding around the corner while they dropped their bombs into hot milk, listening to the collective gasps when the chocolate spheres cracked open and marshmallows bobbed to the surface.
Ingredients
- 300 g high-quality chocolate: Spend the extra money here because the shells are the star of the show. I tried cheap chocolate once and the bombs refused to release from the molds.
- 6 tbsp unsweetened cocoa powder: This intense cocoa concentrate creates that deep chocolate flavor that stands up to the milk.
- 6 tbsp powdered sugar: Dissolves instantly into the hot milk unlike granulated sugar which leaves gritty spots.
- 1 cup mini marshmallows: Use the smallest ones you can find so they pack inside easily and float adorably.
- 50 g white chocolate for drizzling: Completely optional but makes them look like something from a fancy chocolate shop window.
Tired of Takeout? 🥡
Get 10 meals you can make faster than delivery arrives. Seriously.
One email. No spam. Unsubscribe anytime.
Instructions
- Melt your chocolate base:
- Work in 30-second microwave bursts, stirring between each. The chocolate should pour like warm honey. Rushing this step causes seizing and nothing recovers from seized chocolate.
- Coat the sphere molds:
- Use the back of a small spoon to spread chocolate up the sides of each mold. Hold the mold to the light to catch any thin spots. You should not see through the chocolate at all.
- Build up the shells:
- Chill for 10 minutes, then add another layer. Two thin coats are stronger than one thick coat that might crack later. The second coat feels like insurance against breakage.
- Fill the halves:
- One tablespoon cocoa, one tablespoon sugar, then marshmallows until nearly full. Do not overstuff or the seam will pop when you try to seal it.
- Seal the bombs:
- Warm a plate for 15 seconds. Rub the rim of an empty half gently on the warm surface, then press onto a filled half. Smooth the seam with your warm finger.
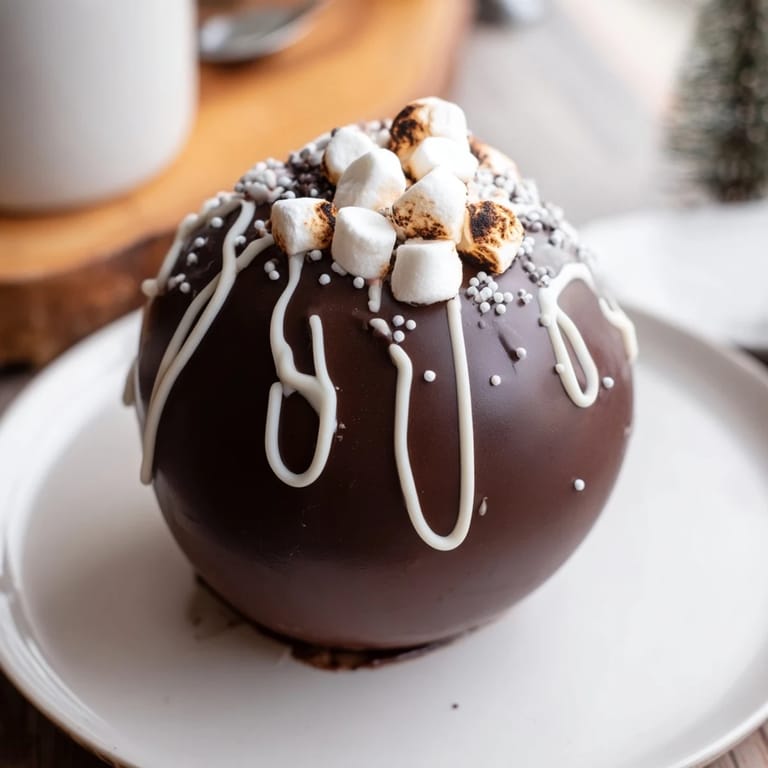
- Decorate and set:
- Drizzle melted white chocolate in zigzag patterns while the chocolate is still slightly tacky so it adheres better. Add sprinkles immediately before the chocolate sets.
- Create the magic moment:
- Heat milk until steaming but not boiling. Drop the bomb into your favorite mug and pour the milk slowly. Stir with anticipation.
 Pin It
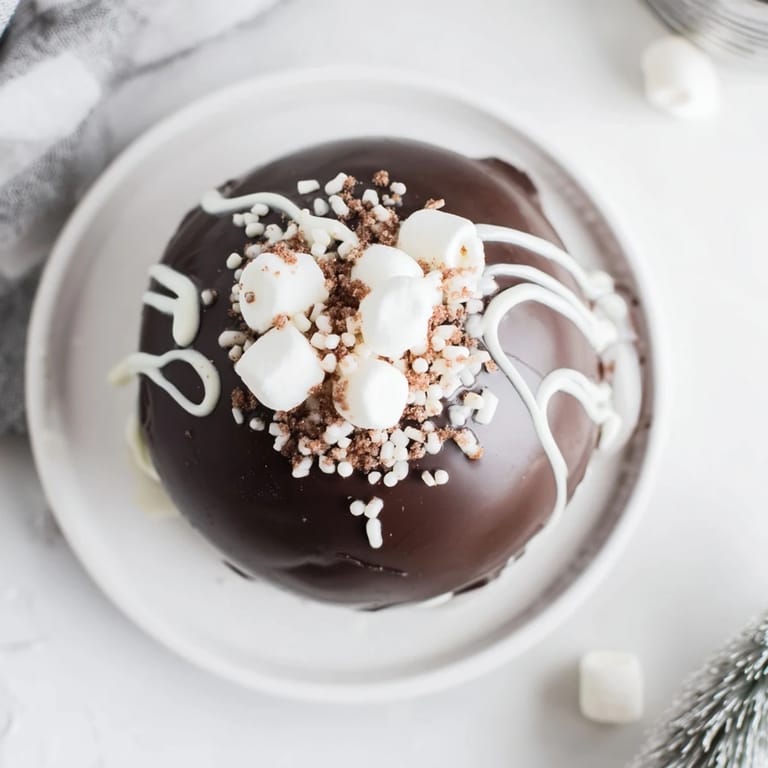
 My neighbor now texts me every December asking if I am taking bomb orders. Her grandchildren apparently compare them to the ones they saw on TikTok and tell her she found the real deal.
Making Them Ahead
I learned the hard way that these need to sit undisturbed after sealing. Rushing the chilling time causes weak spots where the two halves meet. An overnight rest in the refrigerator makes them virtually indestructible for gifting.
Flavor Twists
Peppermint extract added to the melted chocolate creates a winter classic. My husband prefers cayenne pepper mixed into the cocoa filling for a spicy kick that surprises everyone. The possibilities really are endless once you master the basic technique.
Packaging And Storage
Clear cellophane bags tied with ribbon turn these into instant gifts. They stay perfect at room temperature for two weeks, though they never last that long in my house.
- Store in a single layer to prevent scratches on the shiny surface
- Include a card with instructions for the milk temperature
- Wrap each bomb individually if mailing to friends far away
 Pin It
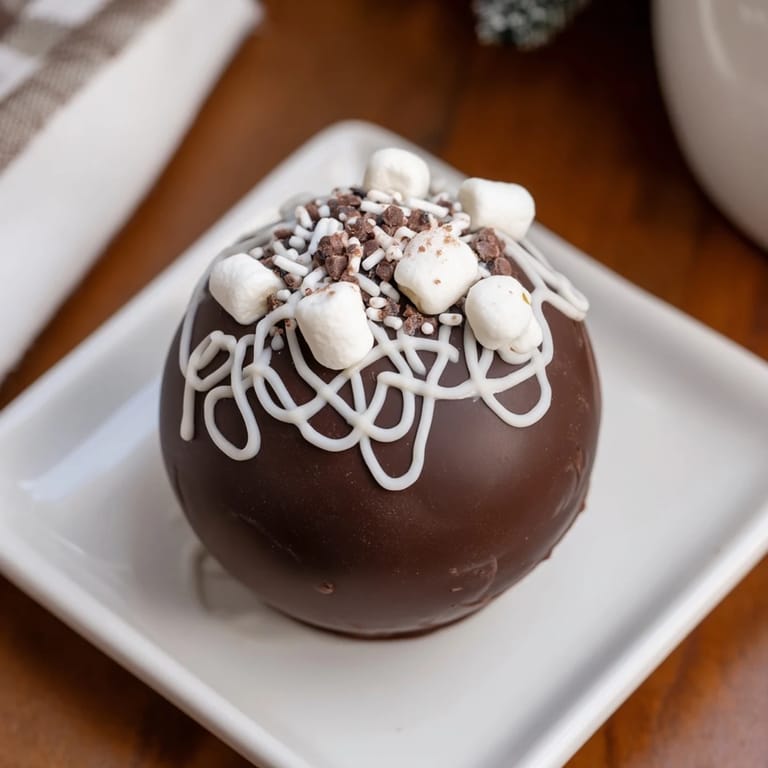
 Wrap your hands around a warm mug and watch winter melt away. These little chocolate orbs bring more joy than their size suggests.
Recipe FAQs
- → What type of chocolate works best for the shells?
High-quality dark or milk chocolate with at least 50% cocoa content works best. Avoid chocolate chips as they contain stabilizers that prevent smooth melting and proper shell formation.
- → Can I make these without silicone molds?
Silicone sphere molds are essential for creating the perfect round shape. Metal or plastic molds can work but make unmolding more difficult. The molds should be approximately 2.5 inches in diameter for best results.
- → How do I prevent the chocolate shells from cracking?
Apply two even layers of chocolate, ensuring adequate thickness. Let each layer set completely in the refrigerator. Handle shells gently when unmolding and work quickly when sealing to prevent temperature fluctuations.
- → What's the best way to seal the two halves together?
Warm a plate in the microwave for 10-15 seconds. Gently press the rim of the empty shell half onto the warm plate to slightly melt the edge, then immediately press it onto the filled half to create a secure seal.
- → How should I store these and how long do they last?
Store in an airtight container at room temperature away from direct sunlight and heat sources. They will keep for up to 2 weeks. Avoid refrigeration as condensation can cause the chocolate to bloom or become sticky.
- → Can I customize the flavors?
Absolutely! Add peppermint extract, cinnamon, chili powder, or flavored cocoa to the filling. Use flavored marshmallows, add crushed candy canes, or mix white and dark chocolate for unique variations.