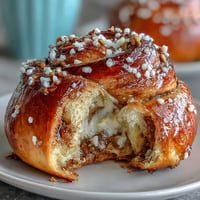
 Pin It
 There's something almost magical about biting into a homemade peanut butter cup and discovering layers of texture you've never experienced in the store-bought version. One lazy Sunday afternoon, I was craving chocolate but wanted something that wouldn't derail my fitness goals, so I started experimenting with what I had in my kitchen: dark chocolate, peanut butter, and a container of Greek yogurt. The result was so unexpectedly creamy and satisfying that I've made these constantly since. What started as a kitchen experiment became my go-to snack, and honestly, they taste like guilt-free indulgence.
I made a batch for my roommate who was stressed about meal prep, and watching her face light up when she bit into one was genuinely touching—suddenly she had a protein-packed snack that tasted indulgent. That moment made me realize these aren't just a personal win, they're the kind of thing you want to share with people you care about.
Ingredients
- Dark chocolate (70% cocoa or higher), chopped: The higher cocoa content keeps the sweetness balanced and prevents that cloying feeling; I've learned that 70% is the sweet spot between richness and restraint.
- Coconut oil: This melts the chocolate without burning it and adds a subtle depth that butter would overpower.
- Natural peanut butter: Skip the stuff with added sugars and oils; pure peanut butter gives you clean flavor and better texture when layered.
- Vanilla or unflavored whey protein powder: This is what transforms these from candy into a legitimate protein snack without making them taste chalky.
- Thick Greek yogurt (full-fat or 2%): Full-fat versions create that creamy center; thinner yogurt will seep and ruin the structure.
- Honey or maple syrup: Either works beautifully, though maple adds an earthy note I sometimes prefer on a whim.
- Vanilla extract and salt: Just a touch of each brings out all the other flavors and prevents everything from tasting one-dimensional.
Tired of Takeout? 🥡
Get 10 meals you can make faster than delivery arrives. Seriously.
One email. No spam. Unsubscribe anytime.
Instructions
- Set up your cups:
- Line your mini muffin tin with paper liners—this is the unglamorous step that saves you from chocolate-stuck frustration later. It takes two minutes and prevents heartbreak.
- Melt the chocolate gently:
- Microwave the dark chocolate and coconut oil in 30-second bursts, stirring between each interval until it's completely smooth and glossy. Patience here prevents seized chocolate, which is irreversible and disappointing.
- Create the chocolate base:
- Spoon about a teaspoon of melted chocolate into each liner, then use the back of your spoon to gently coat the bottom and slightly up the sides. This creates a seal that holds everything together.
- Freeze the foundation:
- Pop the tin in the freezer for exactly 10 minutes—this hardens the chocolate layer so your next layers don't sink through and create a muddy mess.
- Blend the peanut butter layer:
- Mix peanut butter, protein powder, and honey in a small bowl until completely smooth; the protein powder sometimes resists blending, so patience and a firm stirring hand make the difference.
- Prepare the yogurt filling:
- Combine Greek yogurt, honey, vanilla, and salt in another bowl until creamy and spreadable. This filling is your flavor star—don't rush it.
- Build the middle layers:
- Remove the tin from the freezer and layer about a teaspoon of peanut butter mixture on each chocolate base, flatten gently, then add a teaspoon of yogurt mixture on top. Gentle pressure is key; press too hard and you'll break through to the chocolate below.
- Seal with chocolate:
- Cover each cup completely with the remaining melted chocolate, making sure the top is fully sealed so nothing spills out during freezing. This is the final act of assembly.
- Final chill:
- Freeze for at least an hour until everything is rock solid and holds together when you pick it up. You can eat them straight from the freezer or let them soften slightly at room temperature—both are exceptional.
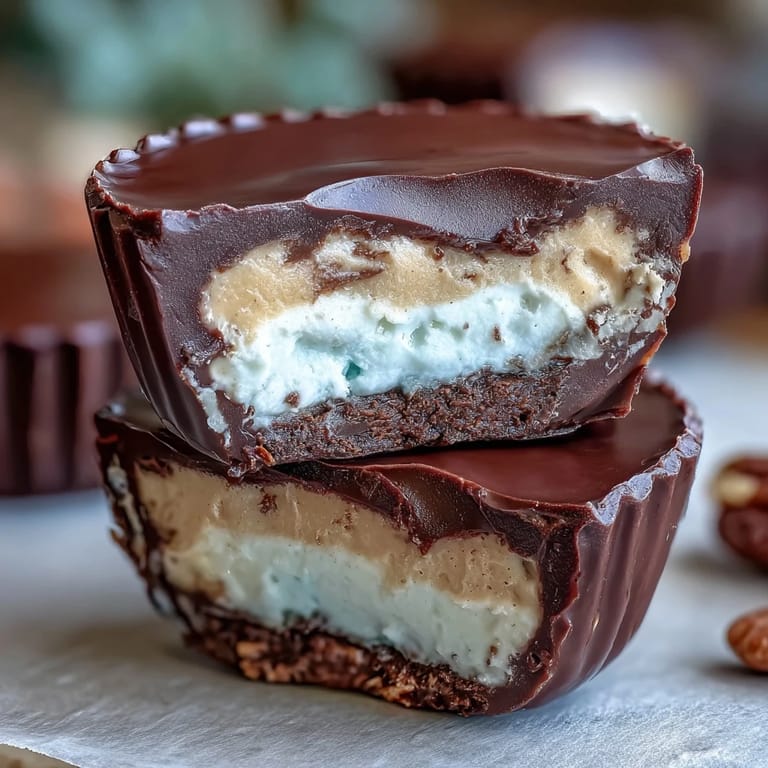 Pin It
 There was this moment when I realized I could make my favorite candy at home, healthier and cheaper, and suddenly dessert felt less like guilt and more like self-care. These little cups became proof that you don't have to choose between tasting good and feeling good.
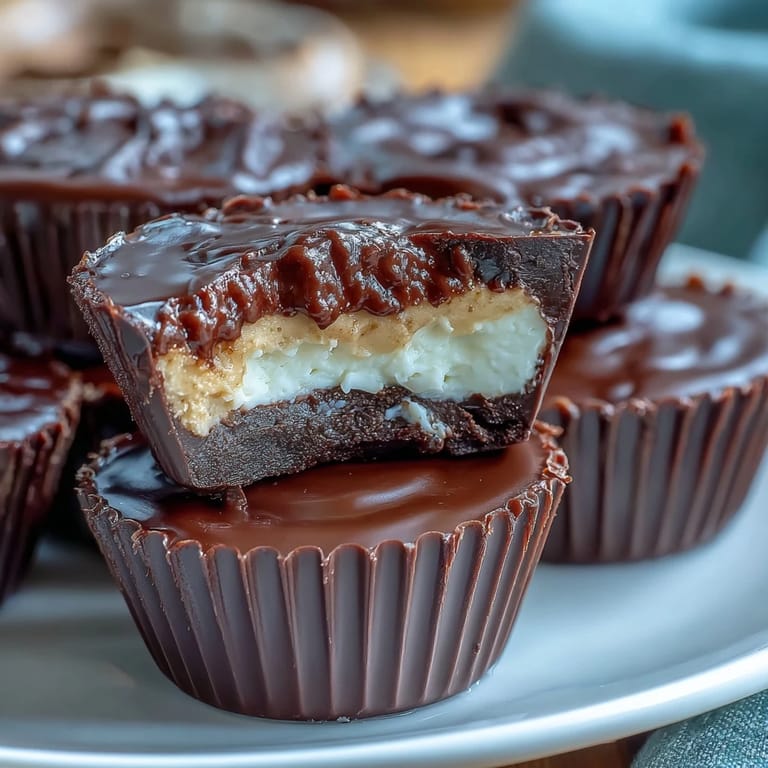
Layering Matters More Than You'd Think
The magic of these cups lives in the three-layer structure, and rushing through the assembly defeats the whole purpose. I learned this by getting overeager and skipping the freezing steps, which resulted in everything merging into one confused texture. When you respect the process and let each layer set properly, you get that satisfying moment when you bite through crispy chocolate into creamy peanut butter and then hit that tangy yogurt center—it's architecture, not just ingredients.
Storage and Longevity
These keep beautifully in the refrigerator for up to two weeks, which is why I batch-make them on Sunday afternoons. I've found they're actually better slightly chilled than frozen solid, because the chocolate becomes snappier without being brittle, and the filling softens just enough to taste creamy rather than icy.
Variations That Surprised Me
After perfecting the classic version, I started playing around with different nut butters, chocolate percentages, and even adding a tiny pinch of sea salt on top before the final chill. The beauty of homemade is that you're not locked into one formula—these are flexible enough to match whatever you're craving on a given day. Some of my favorite tweaks have come from happy accidents and late-night kitchen experiments.
- Try sprinkling fleur de sel on top before the final freeze for a sweet-salty contrast that elevates everything.
- Swap in almond or sunflower seed butter if peanuts aren't an option, and the cups taste equally delicious.
- For a lower-sugar version, use stevia or monk fruit sweetener instead of honey, though the texture stays exactly the same.
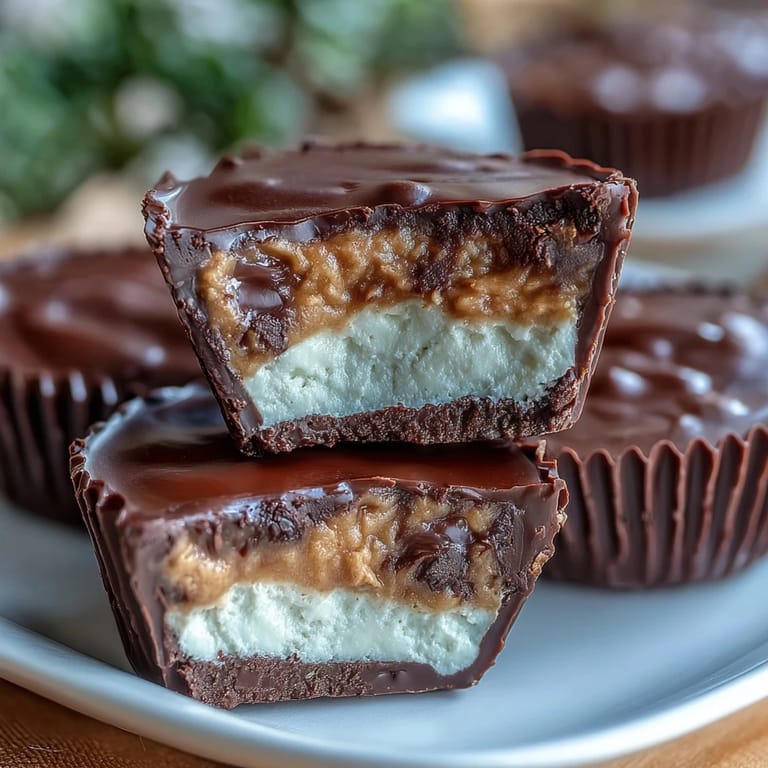 Pin It
 These protein-packed cups proved to me that healthy eating doesn't require deprivation, just a little kitchen creativity. Once you make your first batch, you'll understand why they've become my favorite snack to both enjoy and gift.
Recipe FAQs
- → Can I substitute the peanut butter?
Yes, almond or sunflower seed butter can be used as alternatives to accommodate allergies.
- → What type of chocolate works best?
Dark chocolate with 70% cocoa or higher provides a rich flavor and firm texture.
- → Is Greek yogurt essential for the filling?
Greek yogurt adds a tangy creaminess and protein; full-fat or 2% options work well.
- → How long should the cups chill?
Chill for at least one hour to allow layers to firm up properly.
- → Can I sweeten these with alternatives to honey?
Maple syrup or sugar-free sweeteners like stevia can be used based on preference.