 Pin It
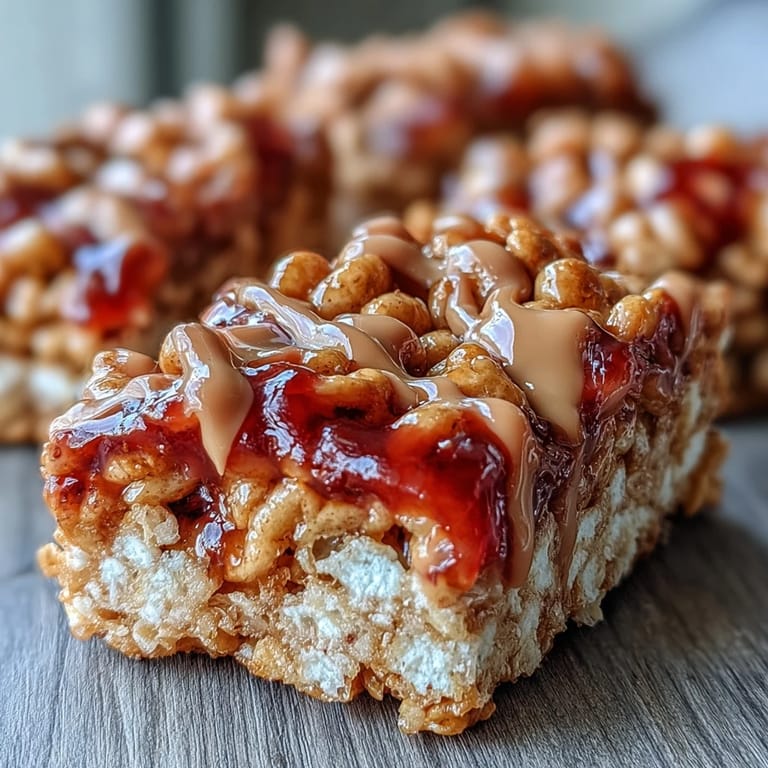
 My gym buddy texted me a photo of these bars at 6 AM, captioning it "fuel before sunrise," and I was instantly intrigued. What started as curiosity about combining childhood nostalgia with actual nutrition turned into my go-to grab-and-go snack that doesn't taste like it's trying so hard to be "healthy." The moment I bit into that first square—crispy rice giving way to creamy peanut butter and tangy jelly swirls—I knew I'd found something special. These bars feel like eating a gourmet version of what you loved as a kid, except they actually stick with you through a morning workout or an afternoon slump.
I made these for my sister's meal-prep Sunday, and watching her face light up when she realized they were both crispy and chewy was worth every minute. She grabbed three bars before I'd even finished cutting, and I ended up doubling the recipe the next week because she'd demolished them in two days. Now they're her emergency breakfast when she oversleeps, and honestly, they've become the snack she requests more than anything else I make.
Ingredients
- Crisped rice cereal: Four cups creates that signature crunch that keeps things interesting—don't skimp here because it's what gives these bars their textural magic.
- Creamy peanut butter: One cup for the base plus an extra third cup for drizzling; the creamy kind matters because it mixes smoothly without fighting you.
- Honey or maple syrup: Half a cup acts as the binding agent that helps everything stick together while adding subtle sweetness without overpowering.
- Vanilla or unflavored protein powder: A quarter cup in the base plus two tablespoons for the drizzle—this is your secret weapon for making bars that actually satisfy hunger.
- Fine sea salt: Just a quarter teaspoon balances the sweetness and makes the peanut butter flavor pop in ways you won't expect.
- Vanilla extract: One teaspoon deepens the flavor profile so it feels more sophisticated than the sum of its parts.
- Strawberry or grape jelly: A third cup warmed slightly creates those beautiful swirls and bright pops of flavor that cut through the richness.
- Milk: Two tablespoons dairy or plant-based, used to thin the protein drizzle to the perfect consistency for pouring.
Tired of Takeout? 🥡
Get 10 meals you can make faster than delivery arrives. Seriously.
One email. No spam. Unsubscribe anytime.
Instructions
- Prep your canvas:
- Line your 8x8-inch pan with parchment paper, leaving enough overhang on the sides so you can lift the entire block out later—this saves you from the frustration of trying to scrape bars off the bottom.
- Melt the magic:
- Combine one cup peanut butter and honey in a large saucepan over low heat, stirring gently until they blend into a smooth, glossy mixture. Listen for the quiet bubble sounds and watch for the moment it stops looking grainy—that's when you know it's ready.
- Season and bind:
- Remove from heat and stir in vanilla extract, salt, and the quarter cup of protein powder until you can't see any white streaks anymore. The mixture will smell incredible at this point, like the best version of peanut butter.
- Bring it together:
- Add your four cups of cereal and fold everything together with a spatula until every piece is coated with that peanut buttery goodness. You want to see the glossy coating on everything, not dry cereal peeking through.
- Press with purpose:
- Transfer the mixture into your prepared pan and press it firmly and evenly across the entire surface using the back of your spatula. The pressure here matters because it helps everything set properly when it cools.
- Create the protein drizzle:
- In a small bowl, mix the remaining third cup peanut butter with two tablespoons protein powder, then add milk slowly until you reach a consistency that drizzles easily. You want it thicker than honey but thinner than peanut butter straight from the jar.
- Drizzle with intention:
- Pour the protein mixture across the top in a loose zigzag pattern, letting it pool in some spots while creating thin lines in others. Don't worry about perfection—the imperfection is what makes it look homemade.
- Swirl the magic:
- Warm your jelly slightly to loosen it, then drop spoonfuls across the drizzle. Use a knife or skewer to gently drag through the layers, creating those beautiful marble patterns.
- The hardest part:
- Chill for at least 40 minutes, though an hour is even better if you can wait that long. The texture firms up just enough to keep bars intact when you cut them.
- Cut and celebrate:
- Lift the entire block out using the parchment overhang and transfer to a cutting board, then slice into twelve bars with a sharp knife. Wipe your blade between cuts for cleaner edges.
 Pin It
 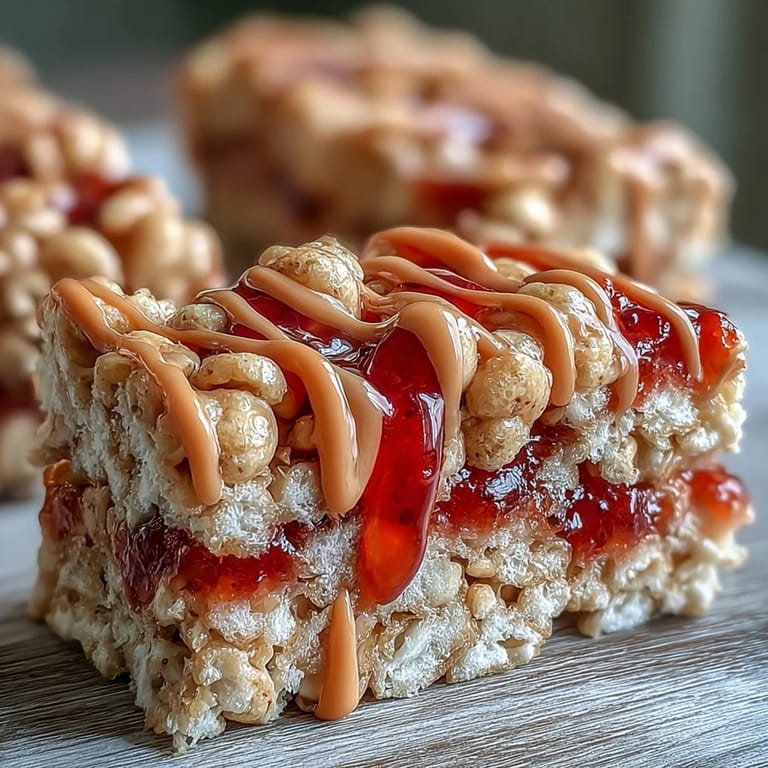 Pin It
 These bars became unexpectedly meaningful when my friend brought them to a study group, and suddenly everyone wanted the recipe instead of focusing on the exam we were supposed to be preparing for. That moment taught me that the best food isn't always fancy—sometimes it's the bars you can grab with one hand while running out the door that end up mattering most.
Storage and Staying Power
These bars live happily in an airtight container in your refrigerator for up to a week, though I've never had them last that long. If you're ambitious, you can individually wrap them in parchment and stash them in the freezer for up to three weeks, pulling one out whenever you need an instant protein boost. I've pulled a frozen bar directly from the freezer and eaten it half-thawed, which actually creates an interesting fudgy texture that rivals the fully chilled version.
Flavor Adventures and Substitutions
The beauty of these bars is how easily they adapt to whatever's in your pantry or your mood. I've swapped the strawberry jelly for raspberry jam, which adds a tartness that cuts through the richness beautifully, and I've experimented with almond butter for a slightly more sophisticated flavor profile. The combination of peanut butter and jelly feels timeless, but don't hesitate to get creative—apricot jam creates something almost upscale, and blueberry brings a subtle earthiness that's surprisingly sophisticated.
Making It Work for Your Lifestyle
Whether you're plant-based, dairy-free, or working with dietary restrictions, these bars bend without breaking. For a fully vegan version, use maple syrup instead of honey and grab a plant-based protein powder, and suddenly the entire recipe is vegan without sacrificing a single thing you loved about it. The flexibility here means you're not locked into one version of this recipe—you can make it exactly match your life, which is honestly the only way to make snacks you'll actually eat consistently.
- Keep your protein powder unflavored unless you want competing flavors competing for attention in each bite.
- If your jelly is very thick, warm it for just 15 seconds in the microwave so it flows without burning off the flavor.
- Invest in a good sharp knife for cutting because sawing through these bars will only frustrate you and mess up your clean edges.
 Pin It
 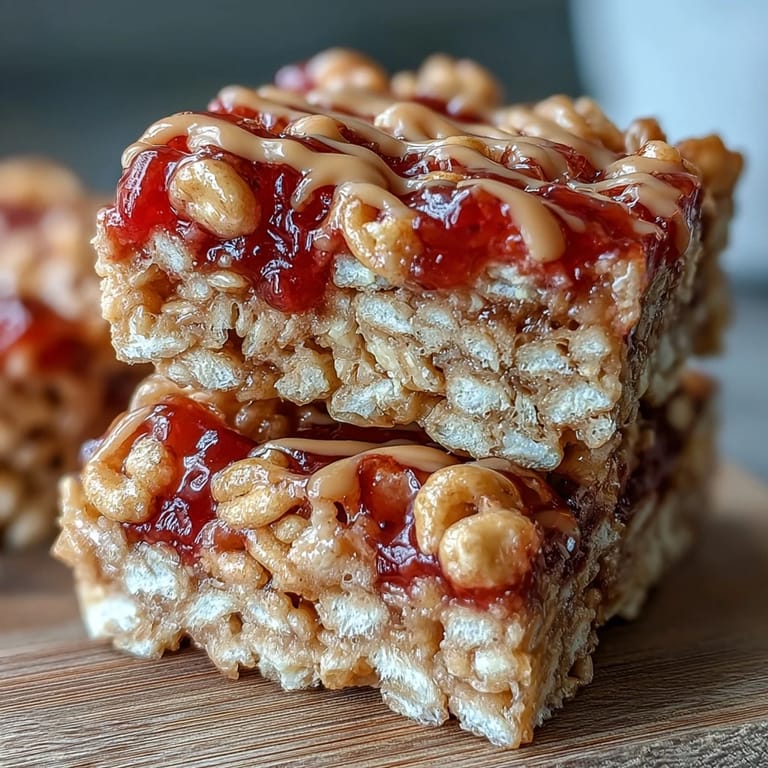 Pin It
 These bars have become my answer to "I need something quick but it can't taste like diet food," and they've earned their place in my regular rotation. There's real magic in creating something that feels like a treat but actually fuels your body the way you need it to.
Recipe FAQs
- → Can I use different nut butters?
Almond butter or sunflower seed butter work beautifully as substitutes for peanut butter. The flavor profile will shift slightly but the texture remains consistent.
- → What protein powder works best?
Vanilla or unflavored whey or plant-based protein powder both incorporate smoothly. Avoid heavily flavored varieties as they may overpower the PB&J balance.
- → How long do these bars stay fresh?
Stored in an airtight container in the refrigerator, these bars maintain their texture for up to one week. The parchment paper between layers prevents sticking.
- → Can I make these vegan?
Use maple syrup instead of honey and choose a plant-based protein powder. The texture and setting properties remain identical to the original version.
- → What jelly flavors work well?
Strawberry and grape provide the most classic experience, but raspberry, blueberry, or apricot create delicious variations. Warm slightly for easier swirling.
- → Why press the base firmly?
Firm pressing ensures the bars hold together when cut. Use the back of a measuring cup or spatula to create an even, compact layer before adding toppings.