 Pin It
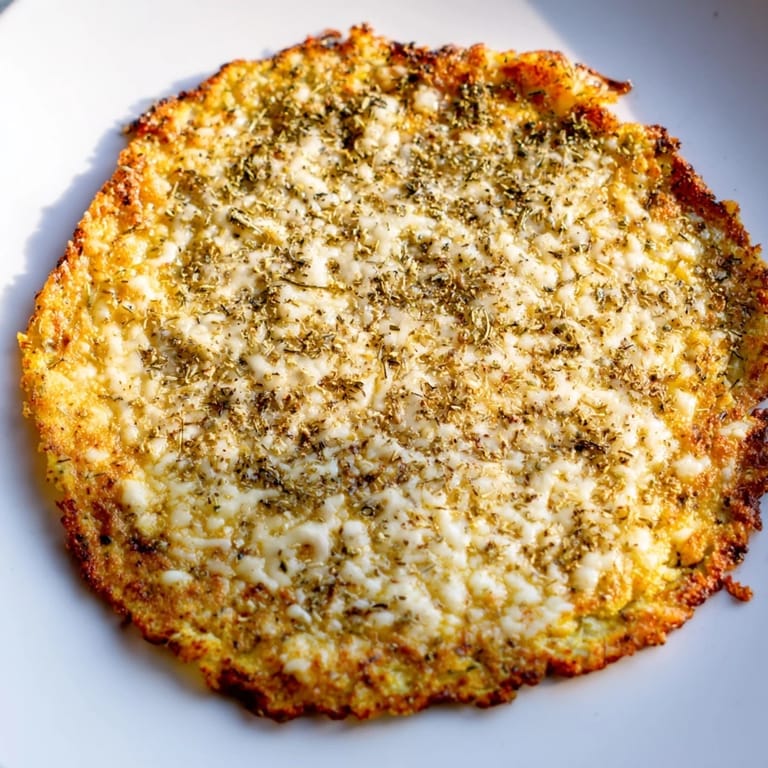
 The first time I made cauliflower pizza crust, I was skeptical—genuinely skeptical. My friend had been raving about it for weeks, and I finally decided to try it on a random Thursday when my usual pizza craving hit but my jeans felt snug. What surprised me wasn't that it tasted good; it was how crispy and sturdy it turned out, nothing like the sad, soggy vegetable cakes I'd imagined. That night changed how I think about pizza entirely.
I made this for my sister's dinner party last spring when she mentioned she was trying keto, and I was terrified it would be the sad side dish everyone politely ignores. Instead, people kept asking for seconds, and the conversation shifted from dieting to how crispy the edges were. That's when I realized this isn't a compromise version of pizza—it's just a different, equally delicious way to make pizza.
Ingredients
- Cauliflower: One medium head is your base—the key is cutting it into florets first so your food processor doesn't get overwhelmed trying to shred the whole thing at once.
- Egg: This acts like the glue that holds everything together; one large egg is perfect for binding without making the texture heavy.
- Mozzarella cheese: Go for whole milk, freshly grated if you can; it melts more smoothly than pre-shredded and helps create those golden-brown patches.
- Parmesan cheese: This adds sharpness and helps the crust crisp up beautifully in the oven.
- Oregano, garlic powder, salt, and pepper: These are your seasoning backbone—don't skip them or use less, or you'll end up with a bland crust that tastes more like cauliflower than pizza.
Tired of Takeout? 🥡
Get 10 meals you can make faster than delivery arrives. Seriously.
One email. No spam. Unsubscribe anytime.
Instructions
- Get your cauliflower ready:
- Cut your head of cauliflower into florets and pulse them in the food processor until they look like rice—not powder, but small, uniform pieces. This usually takes about a minute of pulsing.
- Cook the cauliflower rice:
- Spread it in a microwave-safe bowl and zap it on high for 4 to 5 minutes until it's soft and steamed through. Let it cool for a minute or two so it's not burning hot when you handle it.
- Squeeze out the moisture:
- This step determines whether your crust is crispy or soggy—spread the cooled cauliflower onto a clean kitchen towel, gather the corners, and squeeze hard, wringing it out like you're angry at it. You'll be amazed how much water comes out.
- Mix your dough:
- Combine the wrung-out cauliflower with the egg, both cheeses, and your seasonings in a large bowl, stirring until it forms a sticky dough that holds together. This takes about a minute of vigorous mixing.
- Shape and bake the crust:
- Spread the mixture onto a parchment-lined baking sheet and use your hands or a spatula to shape it into a round or rectangle about half an inch thick. Bake at 425°F for 20 to 25 minutes until the edges are golden brown and the center feels firm to the touch.
- Add toppings and finish:
- Spread tomato sauce, scatter cheese, arrange your vegetables or meats, then return it to the oven for 5 to 8 minutes until everything is melted and bubbly. Slice it like you would regular pizza and serve immediately while it's still hot and crispy.
 Pin It
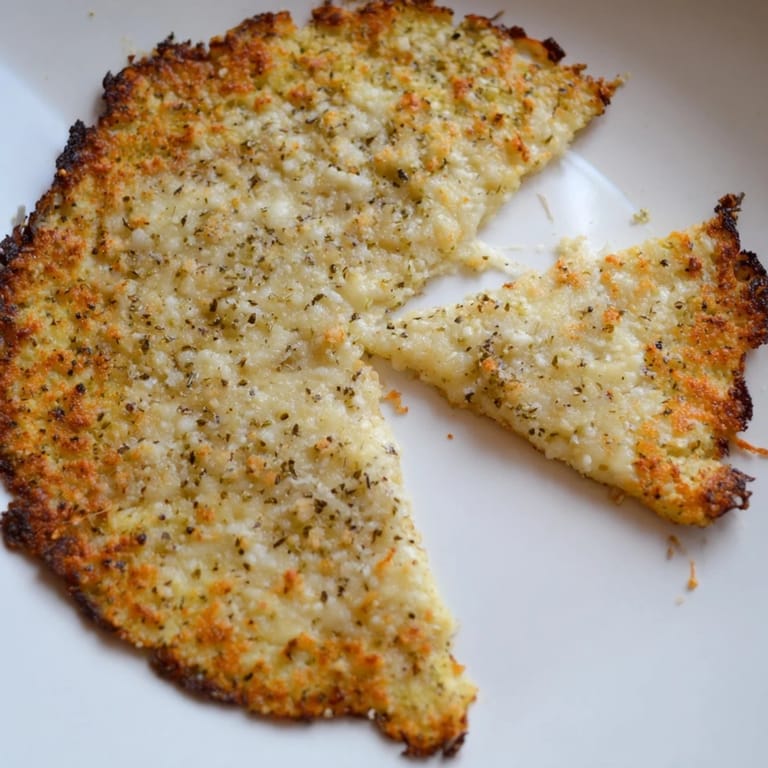
 My neighbor came over unexpectedly one evening while I was baking this, caught the smell of cheese and oregano, and asked what I was making. When I told her it was a low-carb pizza crust, she looked at me like I'd grown a second head—then tried a slice and admitted it was genuinely better than she expected. Sometimes the best moments happen when you're not trying to prove anything, just cooking something you believe in.
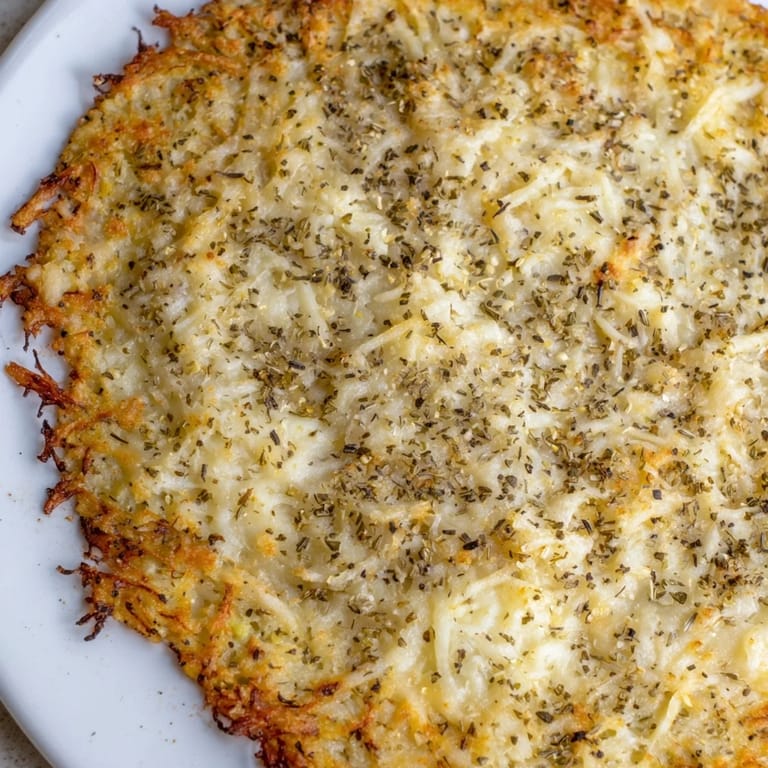
The Secret to Staying Crispy
The moment your crust comes out of the oven and you pull the parchment paper away, if it feels soft and floppy, don't panic—it will firm up as it cools. The real trick is leaving it on the baking sheet for a minute or two after you pull it out so the residual heat finishes setting the bottom. I learned this by making the mistake of immediately sliding it onto a plate and watching it sag, so now I'm patient, and it always turns out crispy.
Making This Your Own
Once you've made this a few times, the base becomes a canvas—some nights I load it with roasted red peppers and olives, other times I go traditional with marinara and pepperoni. The cauliflower crust is sturdy enough to handle whatever toppings you throw at it, which means you're never eating the same pizza twice unless you want to.
Beyond Pizza Night
This crust is more versatile than you'd think—I've used it as a base for BBQ chicken, as a canvas for everything bagel seasoning and cream cheese, and even as a vehicle for leftover roasted vegetables. It's become my go-to solution when I want something crispy and satisfying without the carb load, and honestly, it tastes good enough that the low-carb part feels like a bonus, not a sacrifice.
- Let the fully baked crust cool completely before storing it, then keep it in an airtight container in the fridge for up to three days.
- If you're vegan, swap the egg for a flax egg and use dairy-free mozzarella and nutritional yeast for that sharp, cheesy flavor.
- Make multiple crusts on Sunday and keep them ready—you'll find yourself reaching for pizza way more often when the hardest part is already done.
 Pin It
 This recipe proved to me that eating well doesn't have to mean eating small or boring. It's become my answer to Friday night pizza cravings, and I've never felt like I was settling.
Recipe FAQs
- → How do I get a crisp crust with cauliflower?
Thoroughly squeezing out moisture from cooked cauliflower is key to achieving a crispy texture. Use a kitchen towel or cheesecloth to press out excess water before mixing.
- → Can I make this crust vegan?
Yes, replace egg and cheeses with vegan alternatives like flax eggs and plant-based cheese substitutes.
- → What cheeses work best in this cauliflower base?
Mozzarella and Parmesan bring moisture and flavor, contributing to the dough's stickiness and a golden finish.
- → Is this base suitable for low-carb diets?
Absolutely, it's designed with cauliflower and minimal carbs to fit low-carb and keto meal plans.
- → How long should I bake the crust?
Bake the cauliflower base at 220°C (425°F) for 20–25 minutes until golden and firm, then add toppings and bake an additional 5–8 minutes.
- → Any tips for preventing a soggy crust?
Removing as much moisture as possible and baking until golden ensures a firm and crispy crust.